Tips For Making Black & White Photographs
I stumbled on 5 good tips for shooting black and white today and wanted to pass them on. My thanks to Scott Bourne for posting these. I love the info he shares. It's worth keeping an eye on the RSS feed of his blog.
I've been getting into photography more and more ever since I've had a camera in my pocket almost all the time with my iPhone. Lately I picked up an Olympus OM-D and am learning how to use manual mode on the camera. I've been making a lot of photographs and have been loving black and white photography. Leica even just introduced a high end digital camera called the Monochrom that only shoots black and white images.
Here's a picture I recently made and had printed on canvas to hang in my house.
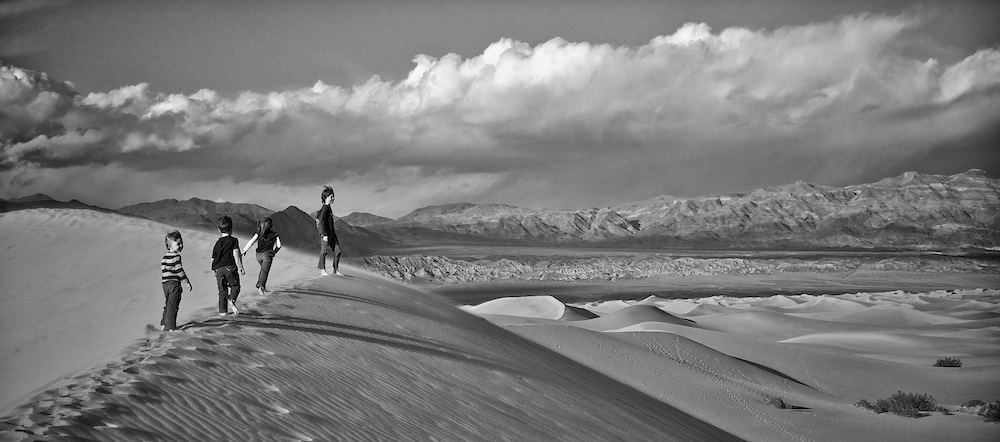
My kids on the Stovepipe Wells sand dunes in Death Valley
There are tons of ways to convert your photos to black and white but once you get in there, you'll find that not all photos look good that way. Not only that, but there are many ways to do the conversion and just clicking the Greyscale mode in Photoshop is probably the worst one to choose. All it does is desaturate the image and you don't get any of the benefits of black and white processing. I emphasize processing because making truly great b&w images is a process, not a button. Shooting in black and white mode in camera is not a good idea because it locks you in and you don't have many options once you go to edit the image later. This is something Scott mentions in his blog post as well.
I was using various Photoshop precessing techniques including the monochrome settings in the Channel Mixer (the same as Black & White adjustment layers now) with lots of tweaking, or using Gradient Map adjustment layers to get decent images. A few months ago I did some research and found there are a couple of secret weapons for processing your images in amazing ways to get the best possible outcome. It's really amazing how many options you have to go black and white. I'm torn between the two so I think I'll need to get both after using the demo versions of Nik Silver Efex Pro and Topaz Labs B&W Effects. Nik Software also makes a program called Snapseed for your computer, iPad and iPhone that has some great black and white converters with lots of tweakability. Those are really fun to play with.
Once I get the image pretty dialed-in using the b&w processing apps, I further tweak the image in Aperture to create the final look like the one you see above. I use Aperture because it doesn't modify the original master image (referred to as non-destructive editing), it's really great at organizing the tens of thousands of photographs I have, and it keeps me sane when going back through archives trying to find that one shot I need. If you take lots of pictures like I do, you need an organizing system.
The most important thing is to make lots and lots of photographs to get an eye for it. The more you shoot, the more you'll "see" in black and white and you'll know which photos are going to work and which ones aren't while you're making them.
Comments ()